on June 30, 2021

Stream your classes online
In this article, we present a function that has become increasingly important in recent months: online streaming of classes. To make this possible, we are now cooperating with Zoom. This has enabled us to integrate the streaming service directly into your Magicline.
By activating Zoom, your Magicline automatically generates online streams for your classes – including individual links that are automatically delivered to your participants in the MySports app and via MySports.com.

In the following, we have summarised what you need to activate Zoom and how you can use the new feature in your Magicline.
All you need is
Don’t have a Magicline yet? Then arrange a non-binding meeting with us:
ATTENTION: If you use a free Zoom account, a maximum of 100 participants can join and the duration is limited to 40 minutes per session. Therefore, if you offer classes that last longer and/or involve more than 100 members, we recommend you to use a paid Zoom version.
Step 1: Create a Zoom account
If you don’t have a Zoom account for your studio yet, you can create one here.
There are different pricing models from free to business licence.
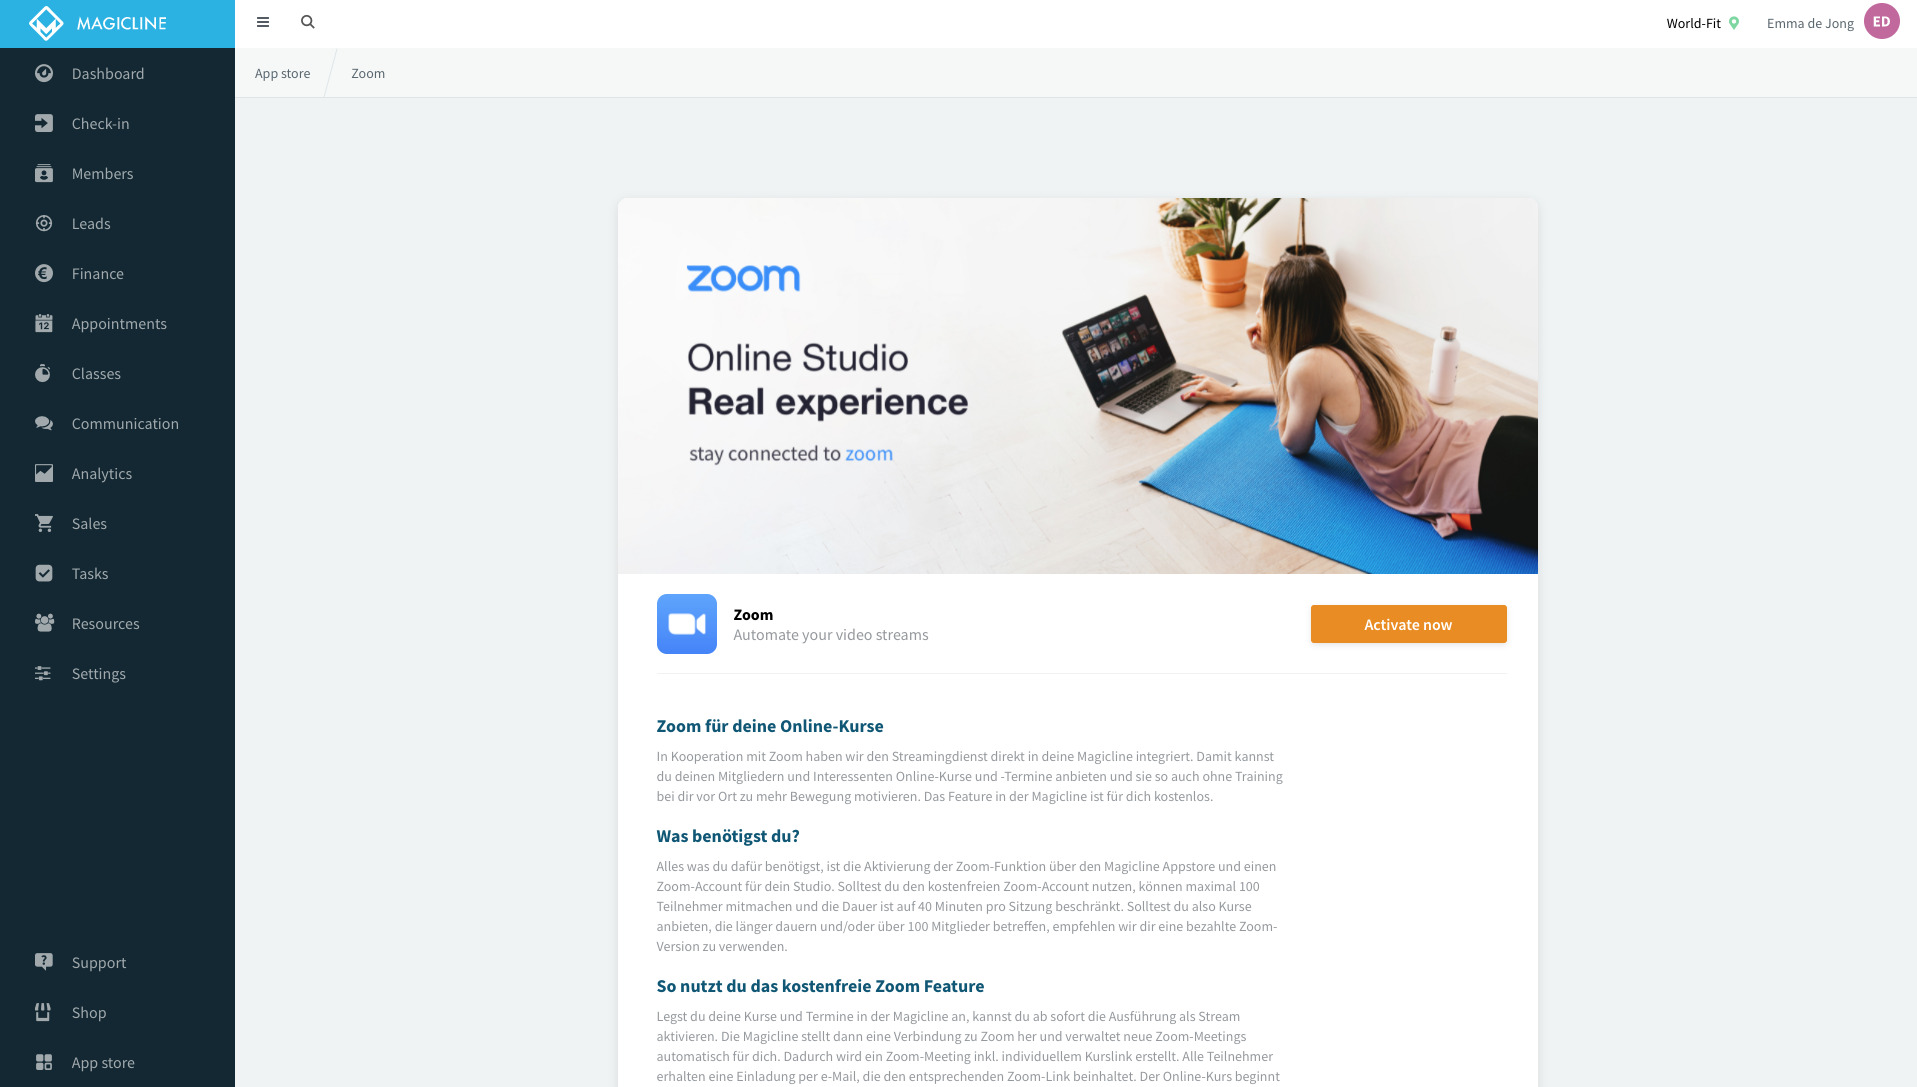
Step 2: Activate the zoom function in the Magicline App store
To use the zoom function, you must activate it in your Magicline App store. Simply click on “Activate now” in the zoom area.
Step 3: Connect Zoom to your Magicline
As soon as you have started the activation, a special Zoom page opens on which you must log in with your Zoom account. You then authorize Magicline access to the Zoom account and the connection is established. If everything has worked, a “Already activated” message appears in your Magicline App store.
Step 4: Set appointments as zoom meetings
For your appointments, you can change the appointment execution from “In Studio” to “Zoom Stream” in the settings area.
This means that all future appointment slots for this service will be offered as a zoom stream and your members will receive the indication that it is a stream during the booking process.
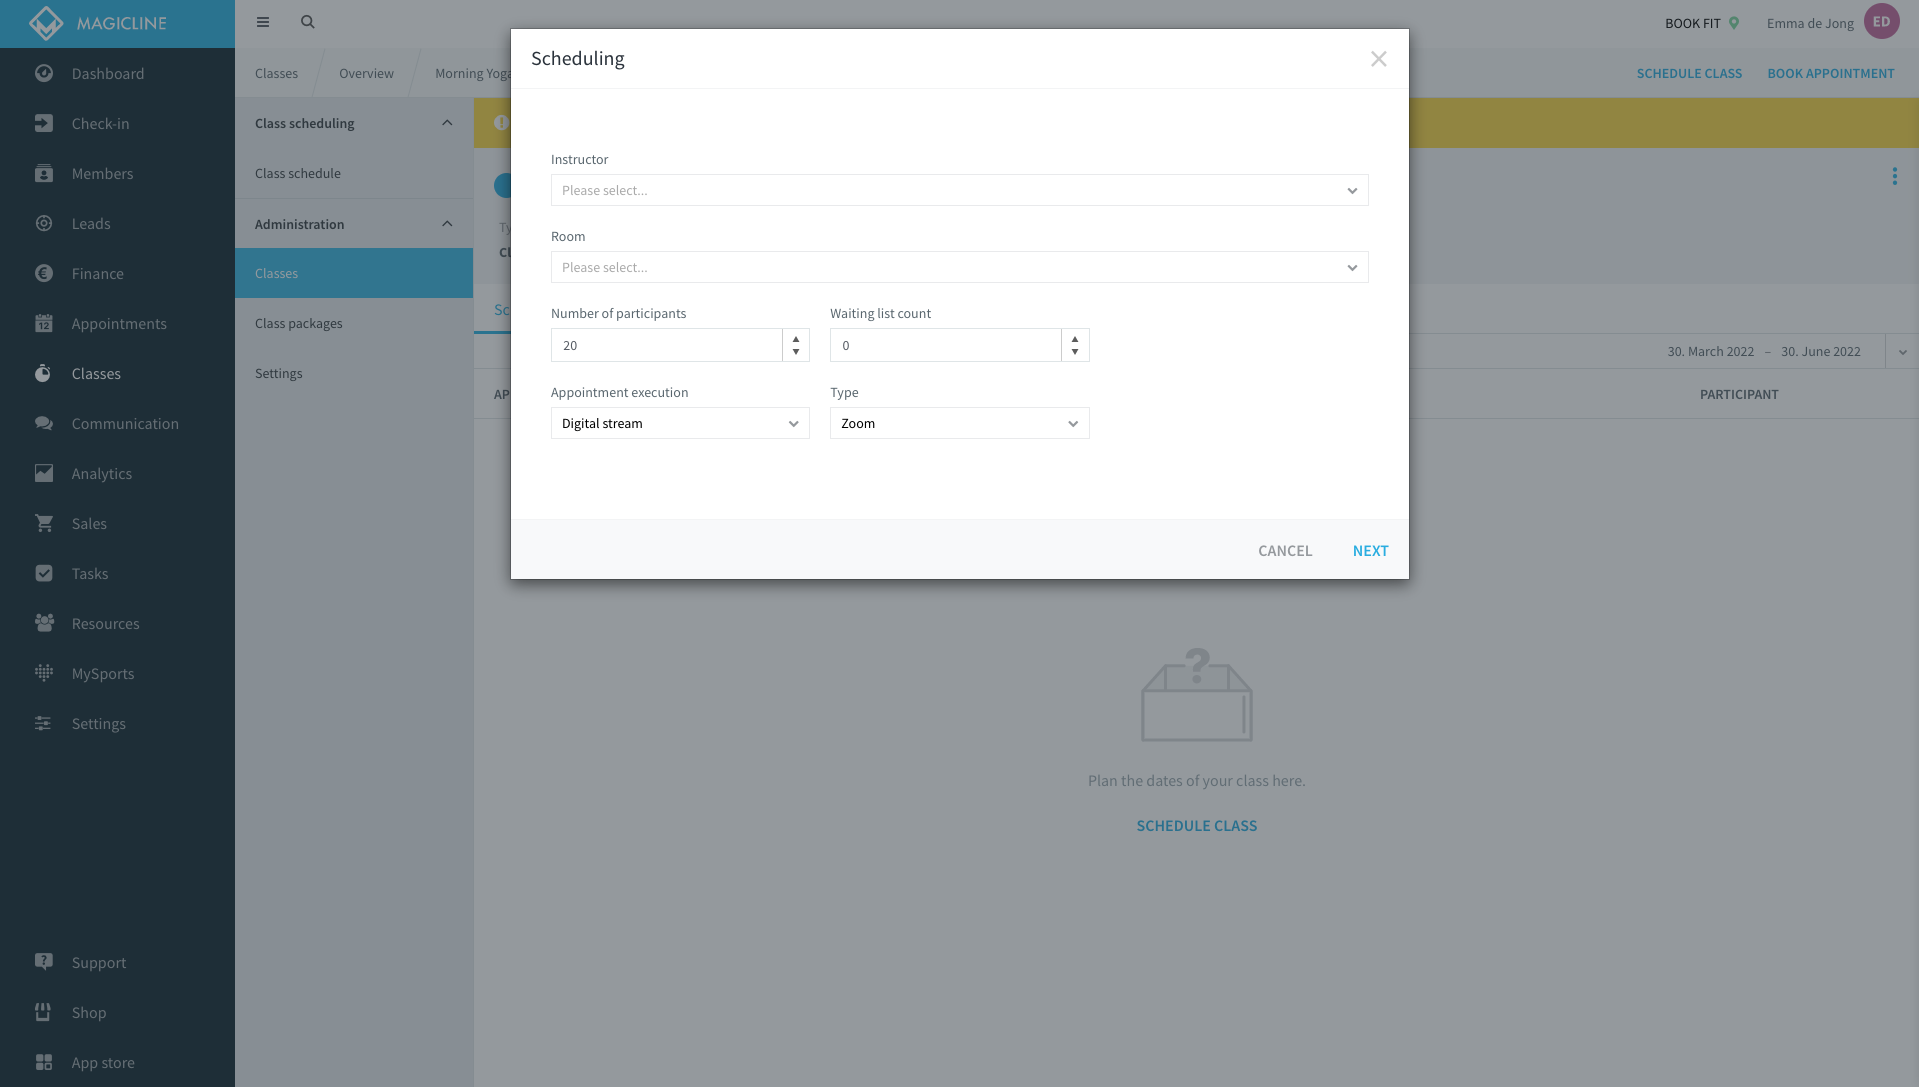
Step 5: Set classes as zoom meetings
When scheduling recurring classes, you can also change the execution to “zoom stream”. Then a new class series will be created in which for each date an individual zoom meeting will be created.
In addition, you can also create new appointments in the calendar yourself and then select “Zoom stream” as execution.
Step 6: Start Zoom Meeting
A created appointment with the execution setting “Zoom-Stream” shows you two links. One for your members’ access and a special link for the instructor.
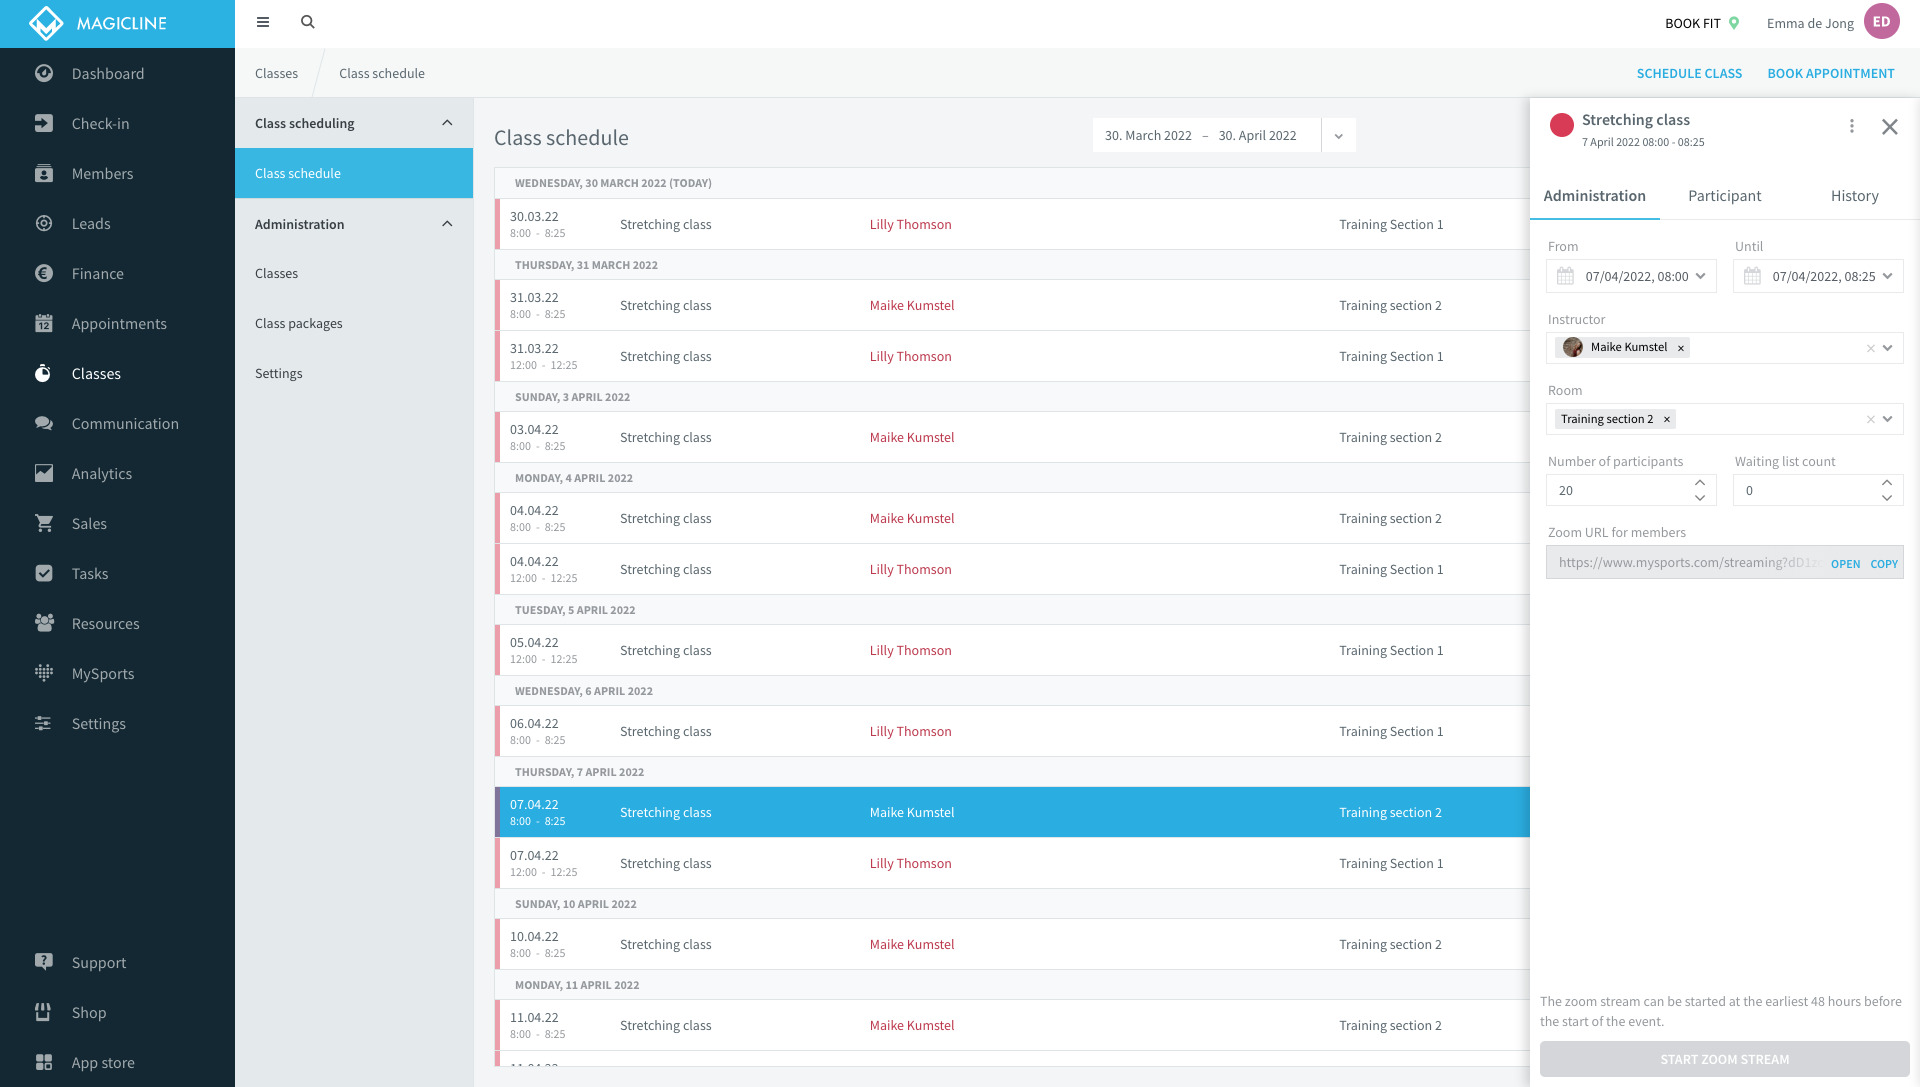
As long as the event has not yet started, your members will end up in the “waiting room”. As soon as the instrcutor starts the stream, the participants can also attend the session.

Want to learn more about the integration and Magicline?
on June 30, 2021